Ten years ago today, on September 3rd 2006 my four year old son Toby was about to start school. It was a big deal for me because not only is he severely autistic but I was ending a six year period of being a constant stay-at-home mum and I wasn't entirely sure what to do with my days.
To counter my anxiety at whether he'd cope with the dramatic change and to keep my mind occupied I wrote my very first blog post and so embarked on a journey which has meandered and rambled over the last decade to arrive at this very point here.
When I began I had no plan or any real aims. I was simply looking for a little online companionship and something to keep me from feeling isolated and anxious about Toby and all of the challenges he continues to face. Well, I found that and so very much more. I've made friends both near and far, both online and in person. I've been on the receiving end of the most wonderful encouragement and compliments for my knitted makes and over the years have been lucky to have sold and sent off many of my knitted animals to all corners of the world. And more recently I've had a fabulous reception for my range of knitting patterns. In short I feel so incredibly blessed and lucky to have stumbled in here and found such a wonderfully supportive community.
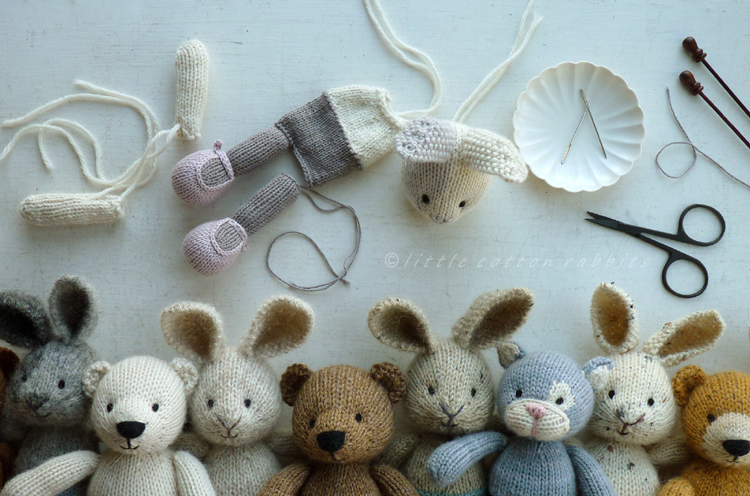
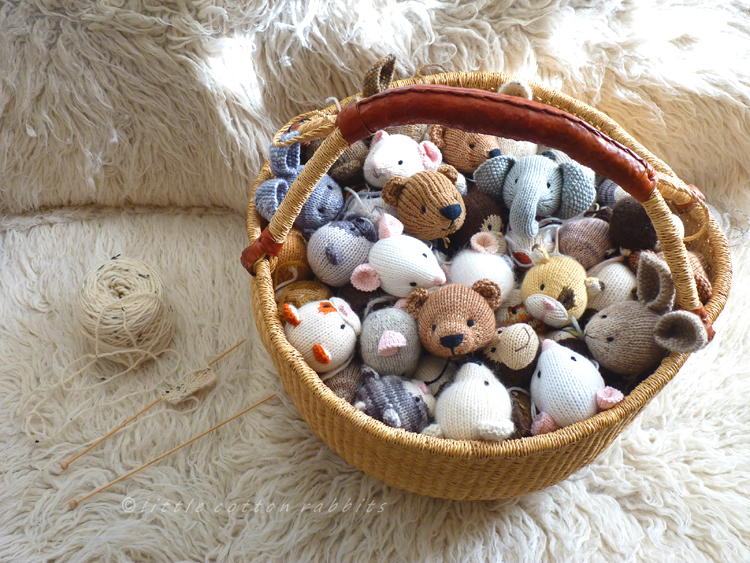
To celebrate my anniversary I am having a giveaway of two animals. The 2 winners can choose an animal each from the batch I have almost finished which will also come with a change of clothes and a little suitcase to keep them in. To be in with a chance of winning one of the two animals in the giveaway please just leave me a comment on this post. The giveaway will close on September 12th and I'll use a random number generator to pick the two winners on September 13th.
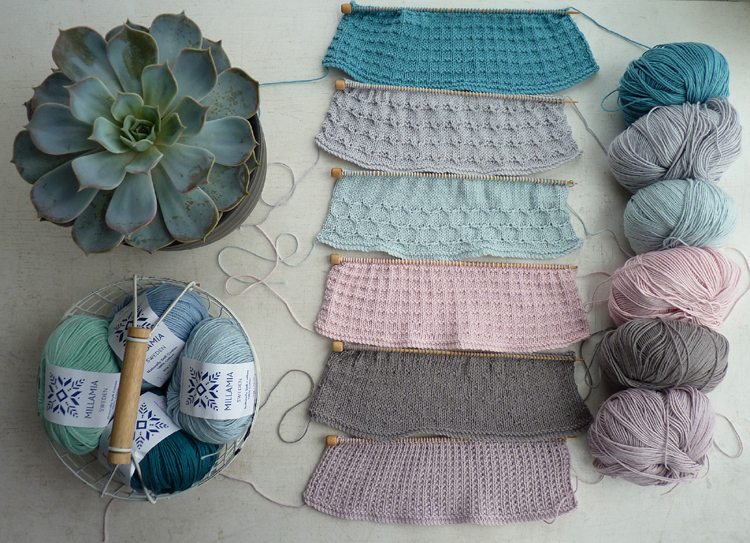
As a thank you to all the knitters who visit with me I also have a special discount code which for the next 3 days (ending on September 5th) will get you 25% off any of my patterns:
TEN25
So if you've been meaning to try one of my patterns or if there's one you'd like to add to your collection then please just enter the above code at the checkout either on Ravelry or on Etsy (please note that you will have to enter the code in order for the discount to be applied). If you want to use the coupon code here on my shop please note that you will have to use the 'add to cart' function and not the 'buy now' in order to enter the coupon code. Sorry, the offer has now expired
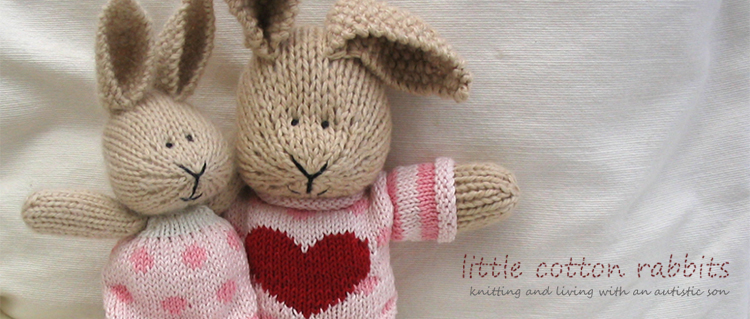
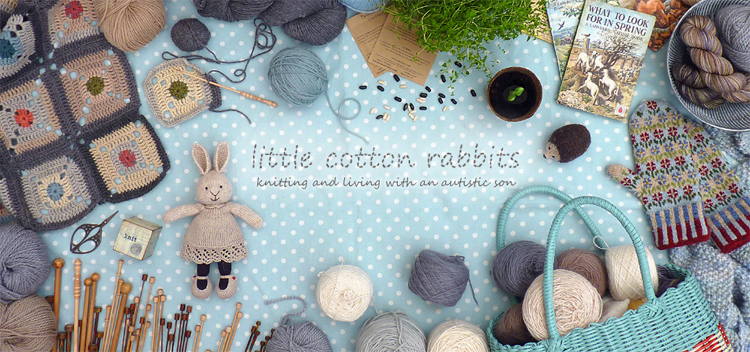
I've covered a lot of blogging ground over the last 10 years and had planned to show you some of my favourite moments and pictures but there are too many to know where to start. So instead here are some of the changes of look my blog has had and a few stats...
2006

2010
2012
10 years of blog stats: 7,832,269 total page hits, 703 posts and 36,917 comments
When I think about ten years passing it seems to have gone so very quickly. But when I look back at the photo taken on the morning of Toby's first school day (September 4th 2006) and how tiny Amy and Toby were, it feels like such a long time ago and really shows how much has changed.
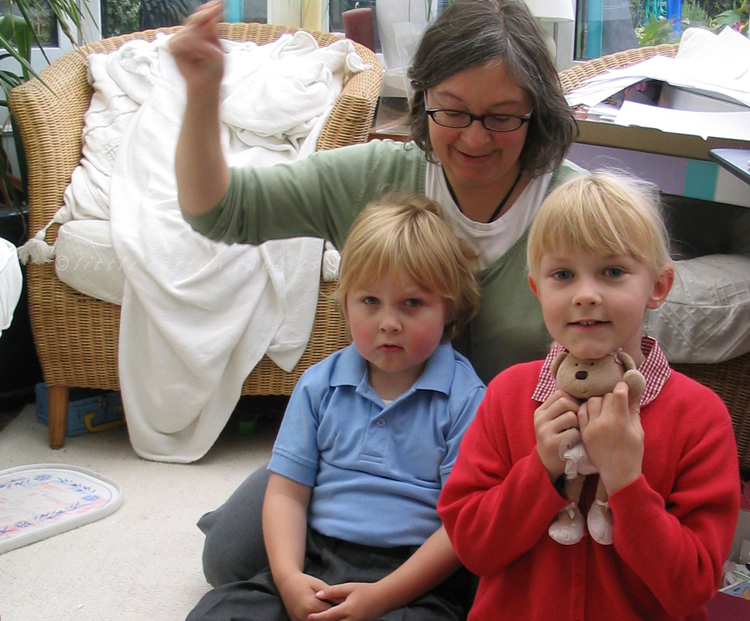
So, as I start my second decade of blogging I'd like to say a huge thank you to everyone who visits me here, especially those of you who take the time to leave a comment and those of you who buy my patterns and finished work. It means so very much to have your kind support, thank you xxx
...............................................
Please leave a comment below to be entered into the giveaway draw. Comments will be closed on the morning of September 13th and two winners will be drawn by random number selection.
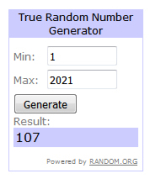
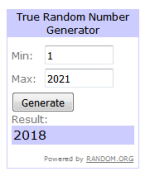
Thanks so much for all the comments! The competition draw is now closed and the winning numbers are 107 which is Justpootling and 2018 which is Maggie Richardson.
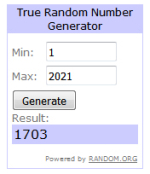
Because there were so many comments I decided to give an extra animal away and the random number generator picked 1703 which is modestine.
